EK Nucleus AIO CR360 Lux -D-RGB Cooler Review
Author: Dennis GarciaCooler Installation
Installing the EK Nucleus AIO is extremely easy and the universal mounting hardware will allow the process to be the same on most platforms provided that you use the correct brackets. On most platforms you will need to use the included backplate and UNLIKE most platforms you don’t need to build up a mounting base.
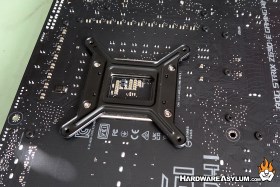
We will be testing on the LGA1700 Alder Lake platform with a Core i7 12700k processor. The included backplate can be adjusted between LGA1200 and LGA1700, just make sure to slide the pins to match your system.
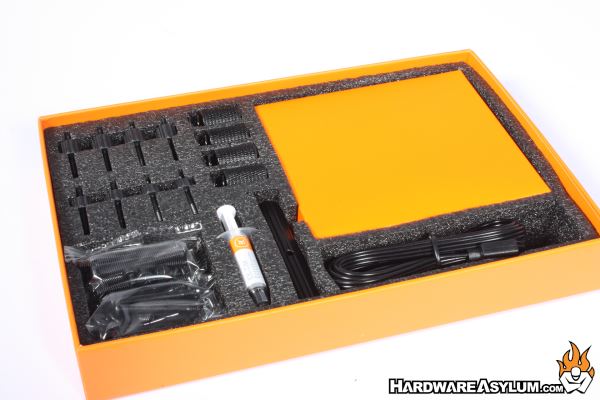
The first thing you will need to do is locate the accessory box that has everything you will need including a handy tool for installing the stand-offs. This box is simply amazing and very well built.

Position and adjust the backplate to match your system and then using multiple hands flip the motherboard over and start installing the stand-offs.
I say “multiple hands” since the backplate does not stay in place and is actually quite difficult to install unless you can access both sides of the motherboard at once.
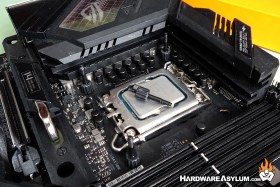
When testing coolers in the lab I choose to always apply fresh thermal compound and do so using the 5-dot method. Sometimes the dots get a little excessive but, the idea is that you apply small dots of compound in an “X” pattern for more even distribution.
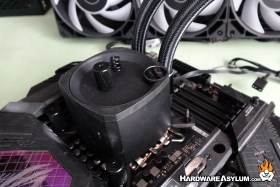
Next, you’ll install the appropriate mounting plate for your system (AMD vs Intel) and install the cooler over the stand-offs. Springs and a special knurled nut finish off the installation.
The final step would be to install the included fans and wire everything up to the motherboard.


