ASUS ROG Maximus Z890 Extreme Motherboard Review
Author: Dennis GarciaBoard Layout and Features Continued
Dual channel memory comes standard on the Arrow Lake processor and the Maximus Z890 Extreme supports standard speed DDR5 modules up to and beyond 9200+ Mt/s. This will depend on your module of choice and processor quality but, be humbled in that the board can handle it. A maximum of 256GB is addressable with the proper module density.
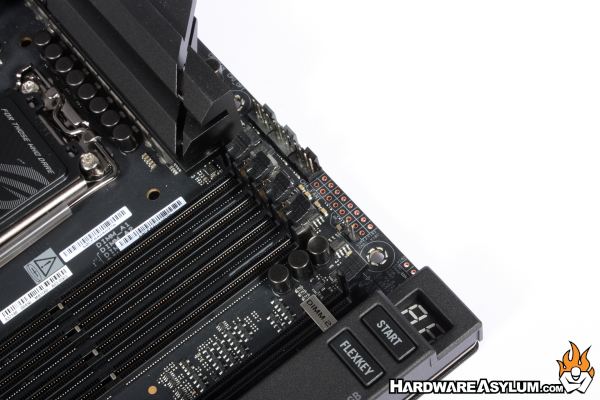
NitroPath
A feature found on only two of the top end motherboards in the Z890 line up is NitroPath DRAM. ROG engineers have found an opportunity to improve signal integrity by redesigning the DIMM slots with a new gold-plated pin design. On conventual sockets the pins are much longer and will sandwich the module to make contact. With NitroPath sockets the pins are much shorter and looped such that they terminate on the DIMM at the very end instead of in the middle.
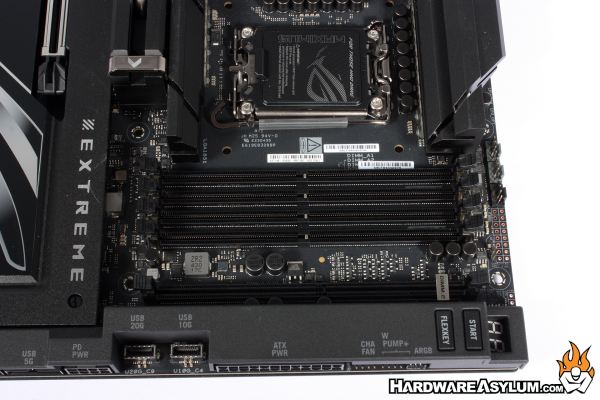
I was able to test memory quite extensively on the Maximus Z890 Extreme and found that my processor was quite good supporting 8200 MT/s with two sticks installed. However, this needed to be dropped down to 6000 MT/s with four sticks installed. You’ll need to keep that in mind if you want to max out the memory capacity.
As an avid overclocker I often use motherboards like this on an open test bench, it is how I do my reviews and when overclocking with LN2 or my Single Stage Phase it makes no sense to have a motherboard in a chassis. This is where having benchtop controls comes in handy for quick reboots, memory resets and post code monitoring is key.
What is amazing about this motherboard is the number of controls scattered around the PCB. At the top near the POST code display and power button you’ll find a row of voltage test points.
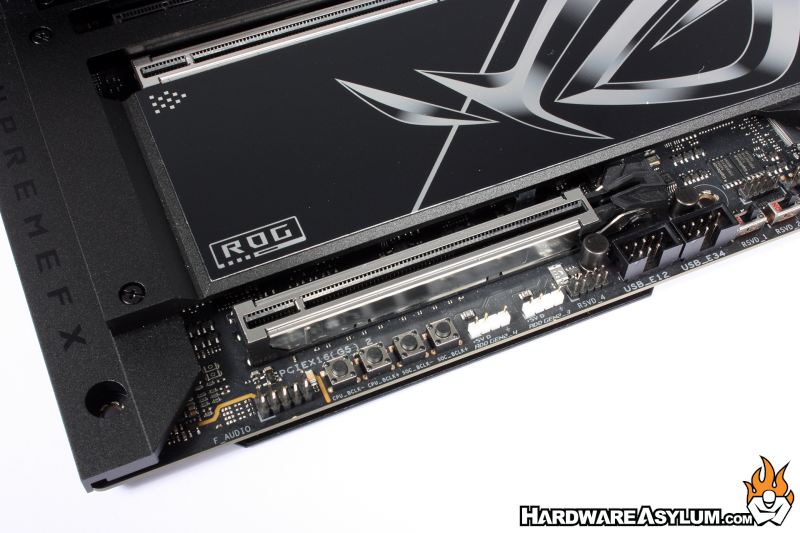
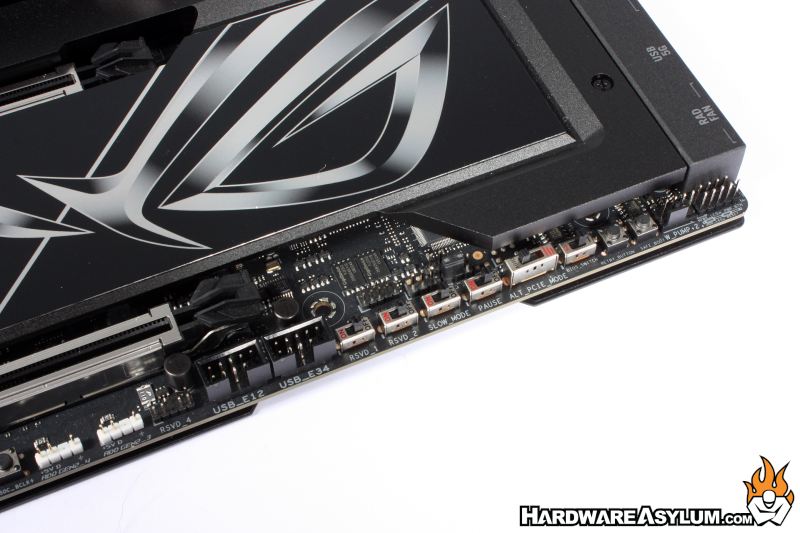
Then at the bottom of the board is a literal playground of buttons and switches to control different aspects of the motherboard performance including a slow mode switch and pause, both key features for getting the most from extreme overclocking benchmarks.
Of course, you’ll find a row of ARGB headers, additional fan headers and front panel controls.
Internal SATA connections number four and follow the SATA6 connection standard. Next to the SATA connectors you’ll find a standard USB 3.0 header along with two 4-pin fan headers to the left.
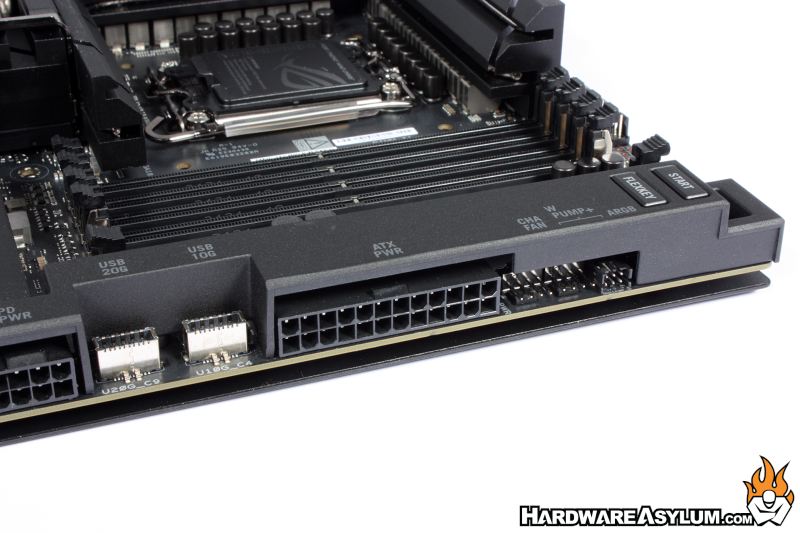
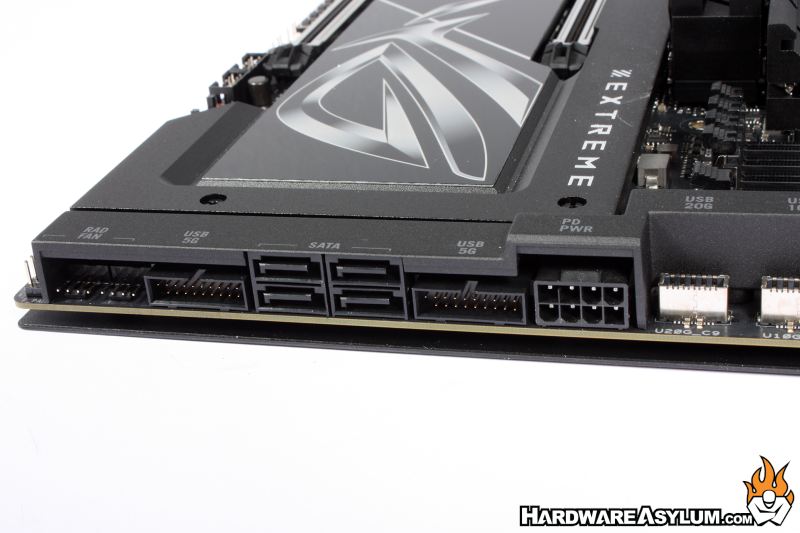
The power connection is to supplement USB power and ensure that high output ports get the power they need.
The 90 degree connectors continue along the entire right side of the motherboard to include the main 24 pin power connection and even more fan headers.