be quiet! Dark Base Pro 901 Chassis Review
Author: Dennis GarciaCase Interior and Layout
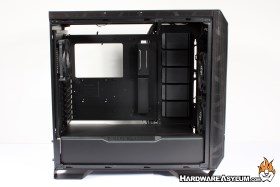
With the panels removed we can get a better look inside the Dark Base Pro 901. For the most part the case is pretty standard. The PSU located under the basement shroud and to help dress it up there is a ARGB light running along the edge which can be controlled by your motherboard.
Kudos to be quiet! for leading the way in responsible ARGB lighting by NOT including an ARGB controller. Given that any modern motherboard comes with a controller onboard there is no reason why any intelligent PC enthusiast would install a non-RGB enabled board in a chassis of this quality.
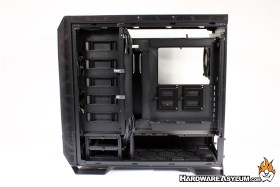
The reverse of the 901 is where the magic happens and is a prime illustration of how a modern PC chassis should look.
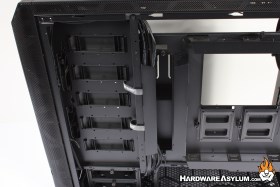
For cable management you will find several extremely large, and protected areas to run power and data cables. There are no cable grommets to ugly up your builds and yet plenty of openings for cable access.
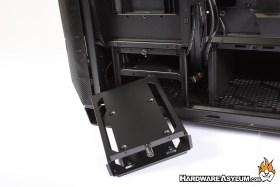
The combo 3.5” drive gage located near the front of the case offers removable and fully enclosed drive cages to support standard rotational hard drives of the smaller 2.5” SSDs. Due to the configuration, you only get support for two drives or, zero drives considering this rack can be completely removed.
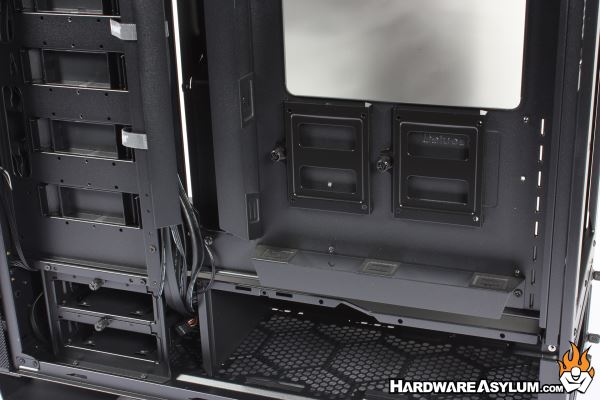
Behind the motherboard tray you will find two surface mound SSD trays with prime access to the integrated cable routing and located below the extremely large access hole for motherboard heatsink access.
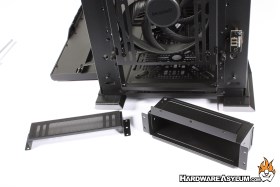
This last feature is an optional install allowing this case to support a single 5.25” external drive bay. You can tell that be quiet! is a little embarrassed by adding this feature since it is located at the bottom of the chassis AND behind a hidden door in the front bezel.
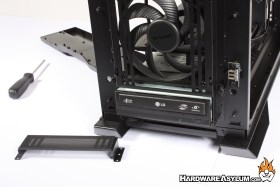
The drive bay works like this. First you remove the front bezel and fully remove the dual 3.5” hard drive rack. There is a vented panel covering the access hole, remove that and install the bay collar used to mound your external device.
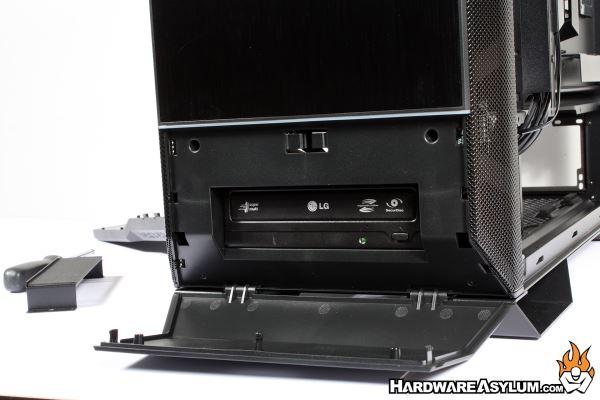
Finally install the bay device of your choice, I am using an LG DVD drive to illustrate how great this feature is. Reinstall the front bezel and flip open the hidden door to expose the bay device.

