DeepCool CH360 Digital Case Review
Author: Darren McCainCase Interior and Layout
With the glass and metal panels removed we can take a closer look at the interior layout. DeepCool has provided a large motherboard tray with plenty of open space for access for cables and cable routing. Two big cable access holes in front and two smaller holes on top provide easy management of cable runs.
As expected from a modern case, there are no external drive bays.
Cable management is a bit of a mess right out of the box thanks to all that ARGB! Fortunately, DeepCool provides a batch of cable ties and 26mm of space behind the motherboard tray for routing all that spaghetti.
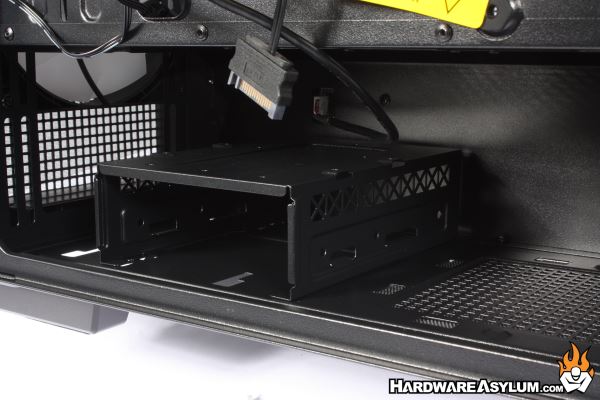
Drive support is split between a removable drive tray in the basement that can hold 2 x 3.5” drives and a single 2.5” drive. Two additional 2.5” drives can be mounted directly to the chassis. One to the front and one below the motherboard. These mounts use a unique pin and grommet system for easy installation and maintenance. I did find removing the drive tray helped with installing my larger power supply.

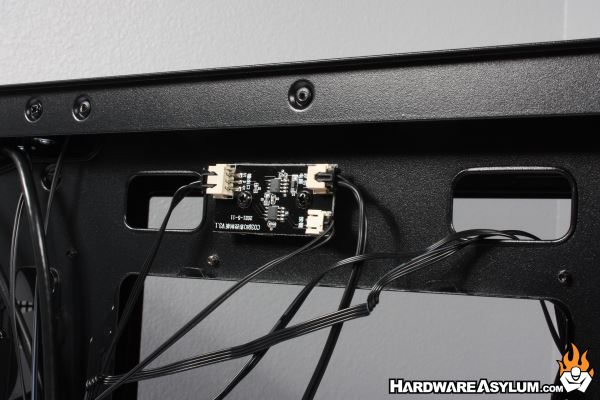
DeepCool provides a simple ARGB controller preinstalled. This controller is powered by your SAT leads and offers a simple way to toggle between the lighting presets. You can also control your lighting through any standard ARGB solution. I did notice my color choice needed to be reset every time I rebooted using the included solution.

For most systems a small controller like this will not be needed however, items like this are a nice addition for junior builders and for companies using the DeepCool CH360-Digital in their pre-built systems. While this may sound strange, the fewer things the technician needs to hook up the easier it is to QA and troubleshoot before the system goes out the door.
Bottom line, easy is good, simple is cheap and time is money.


